
Example - Free Shipping Progress Bar
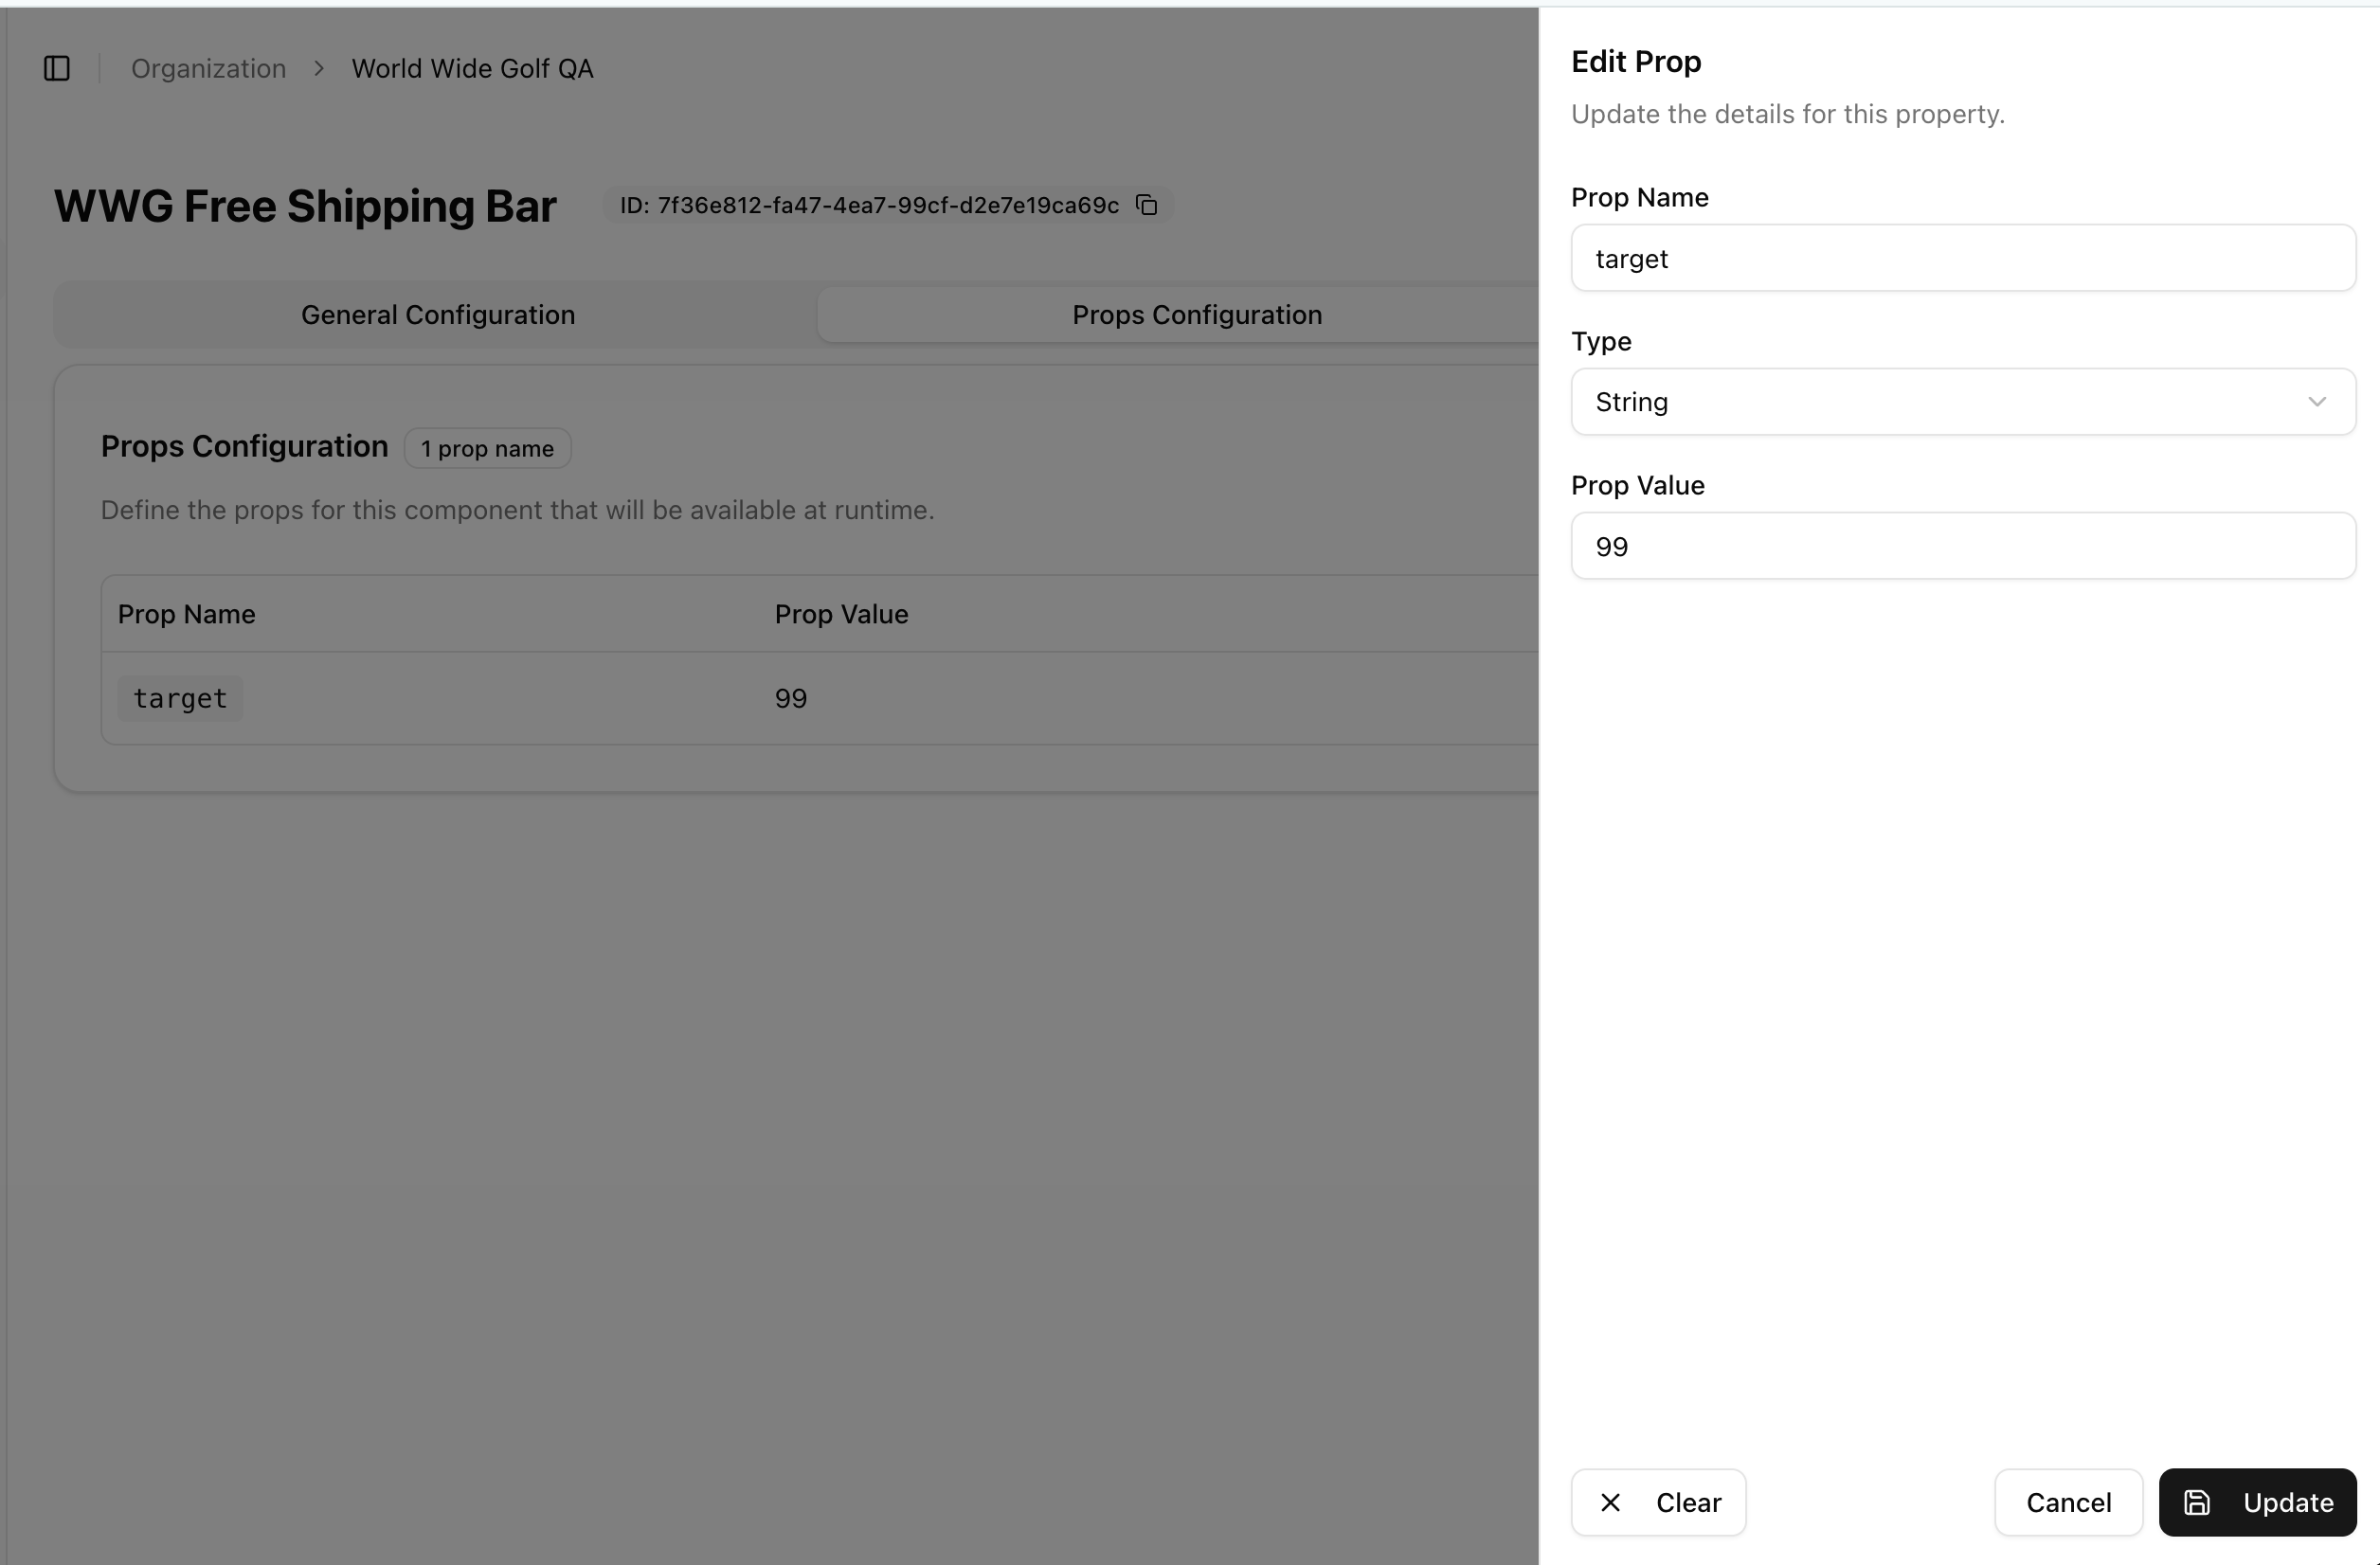
Instead of hard-coding the Free Shipping Tier directly in the code, use props to define the component behavior. In this example the Free Shipping custom component has a default value of $99.00 and let’s assume that we need to change the Free Tier to $350.00.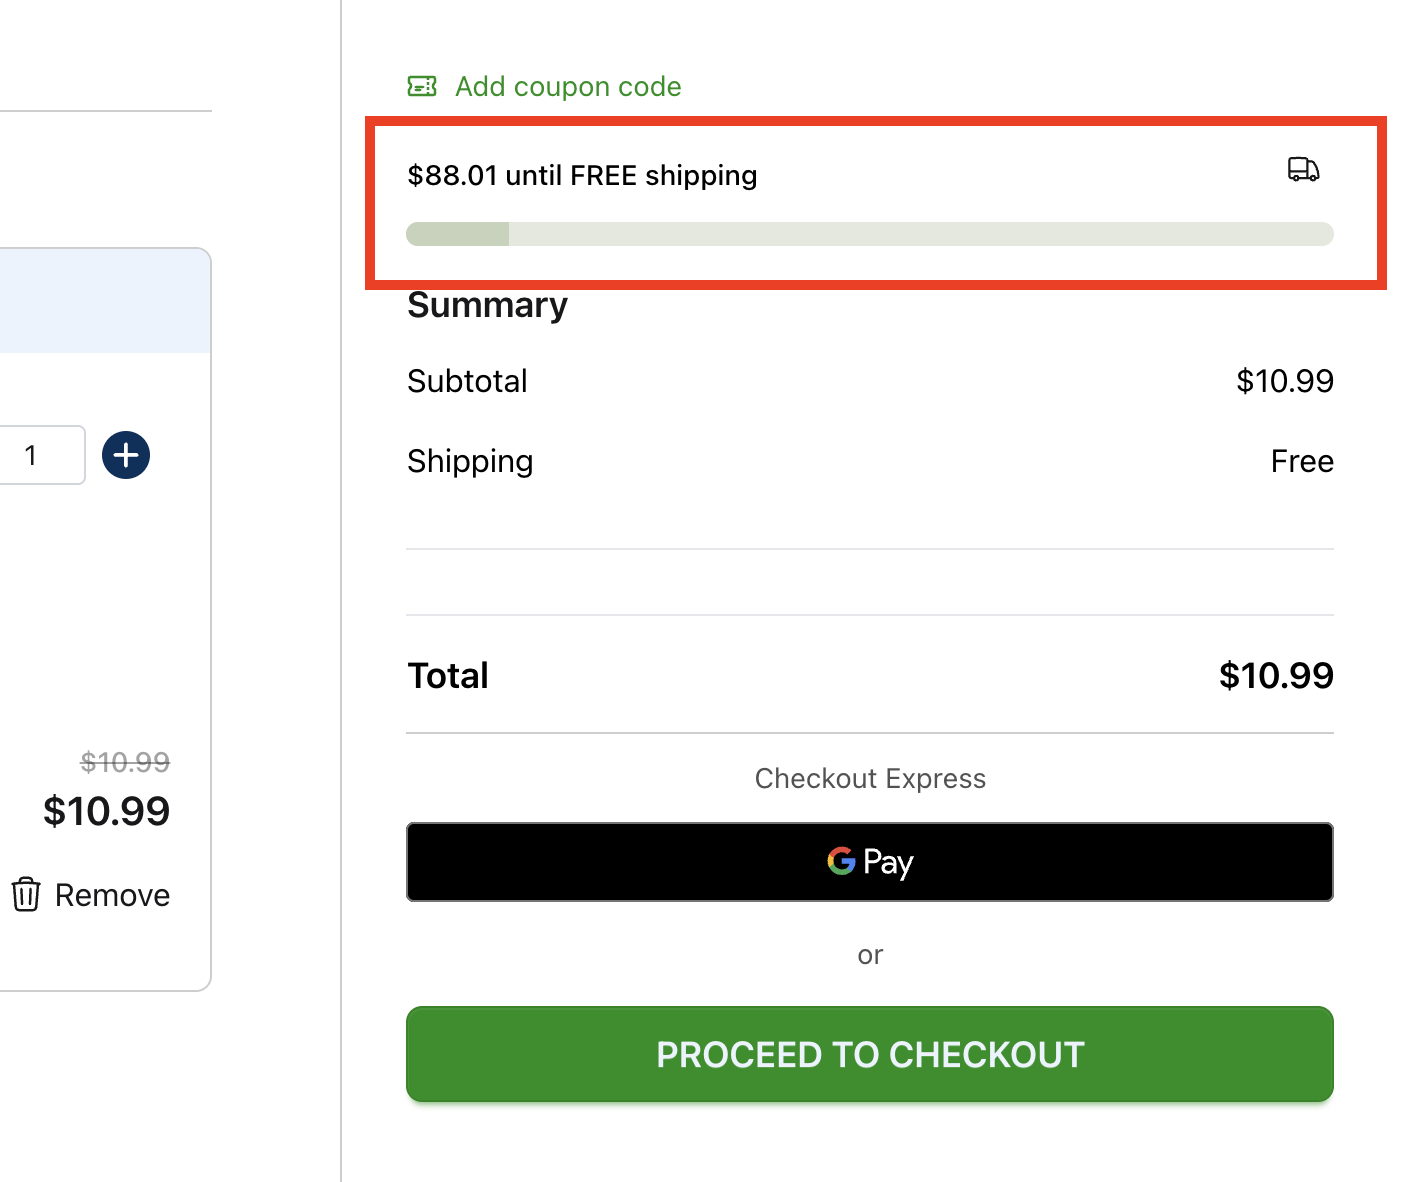
target and assigned a value of 99, however it also declared that this component can receive props.
index.tsx
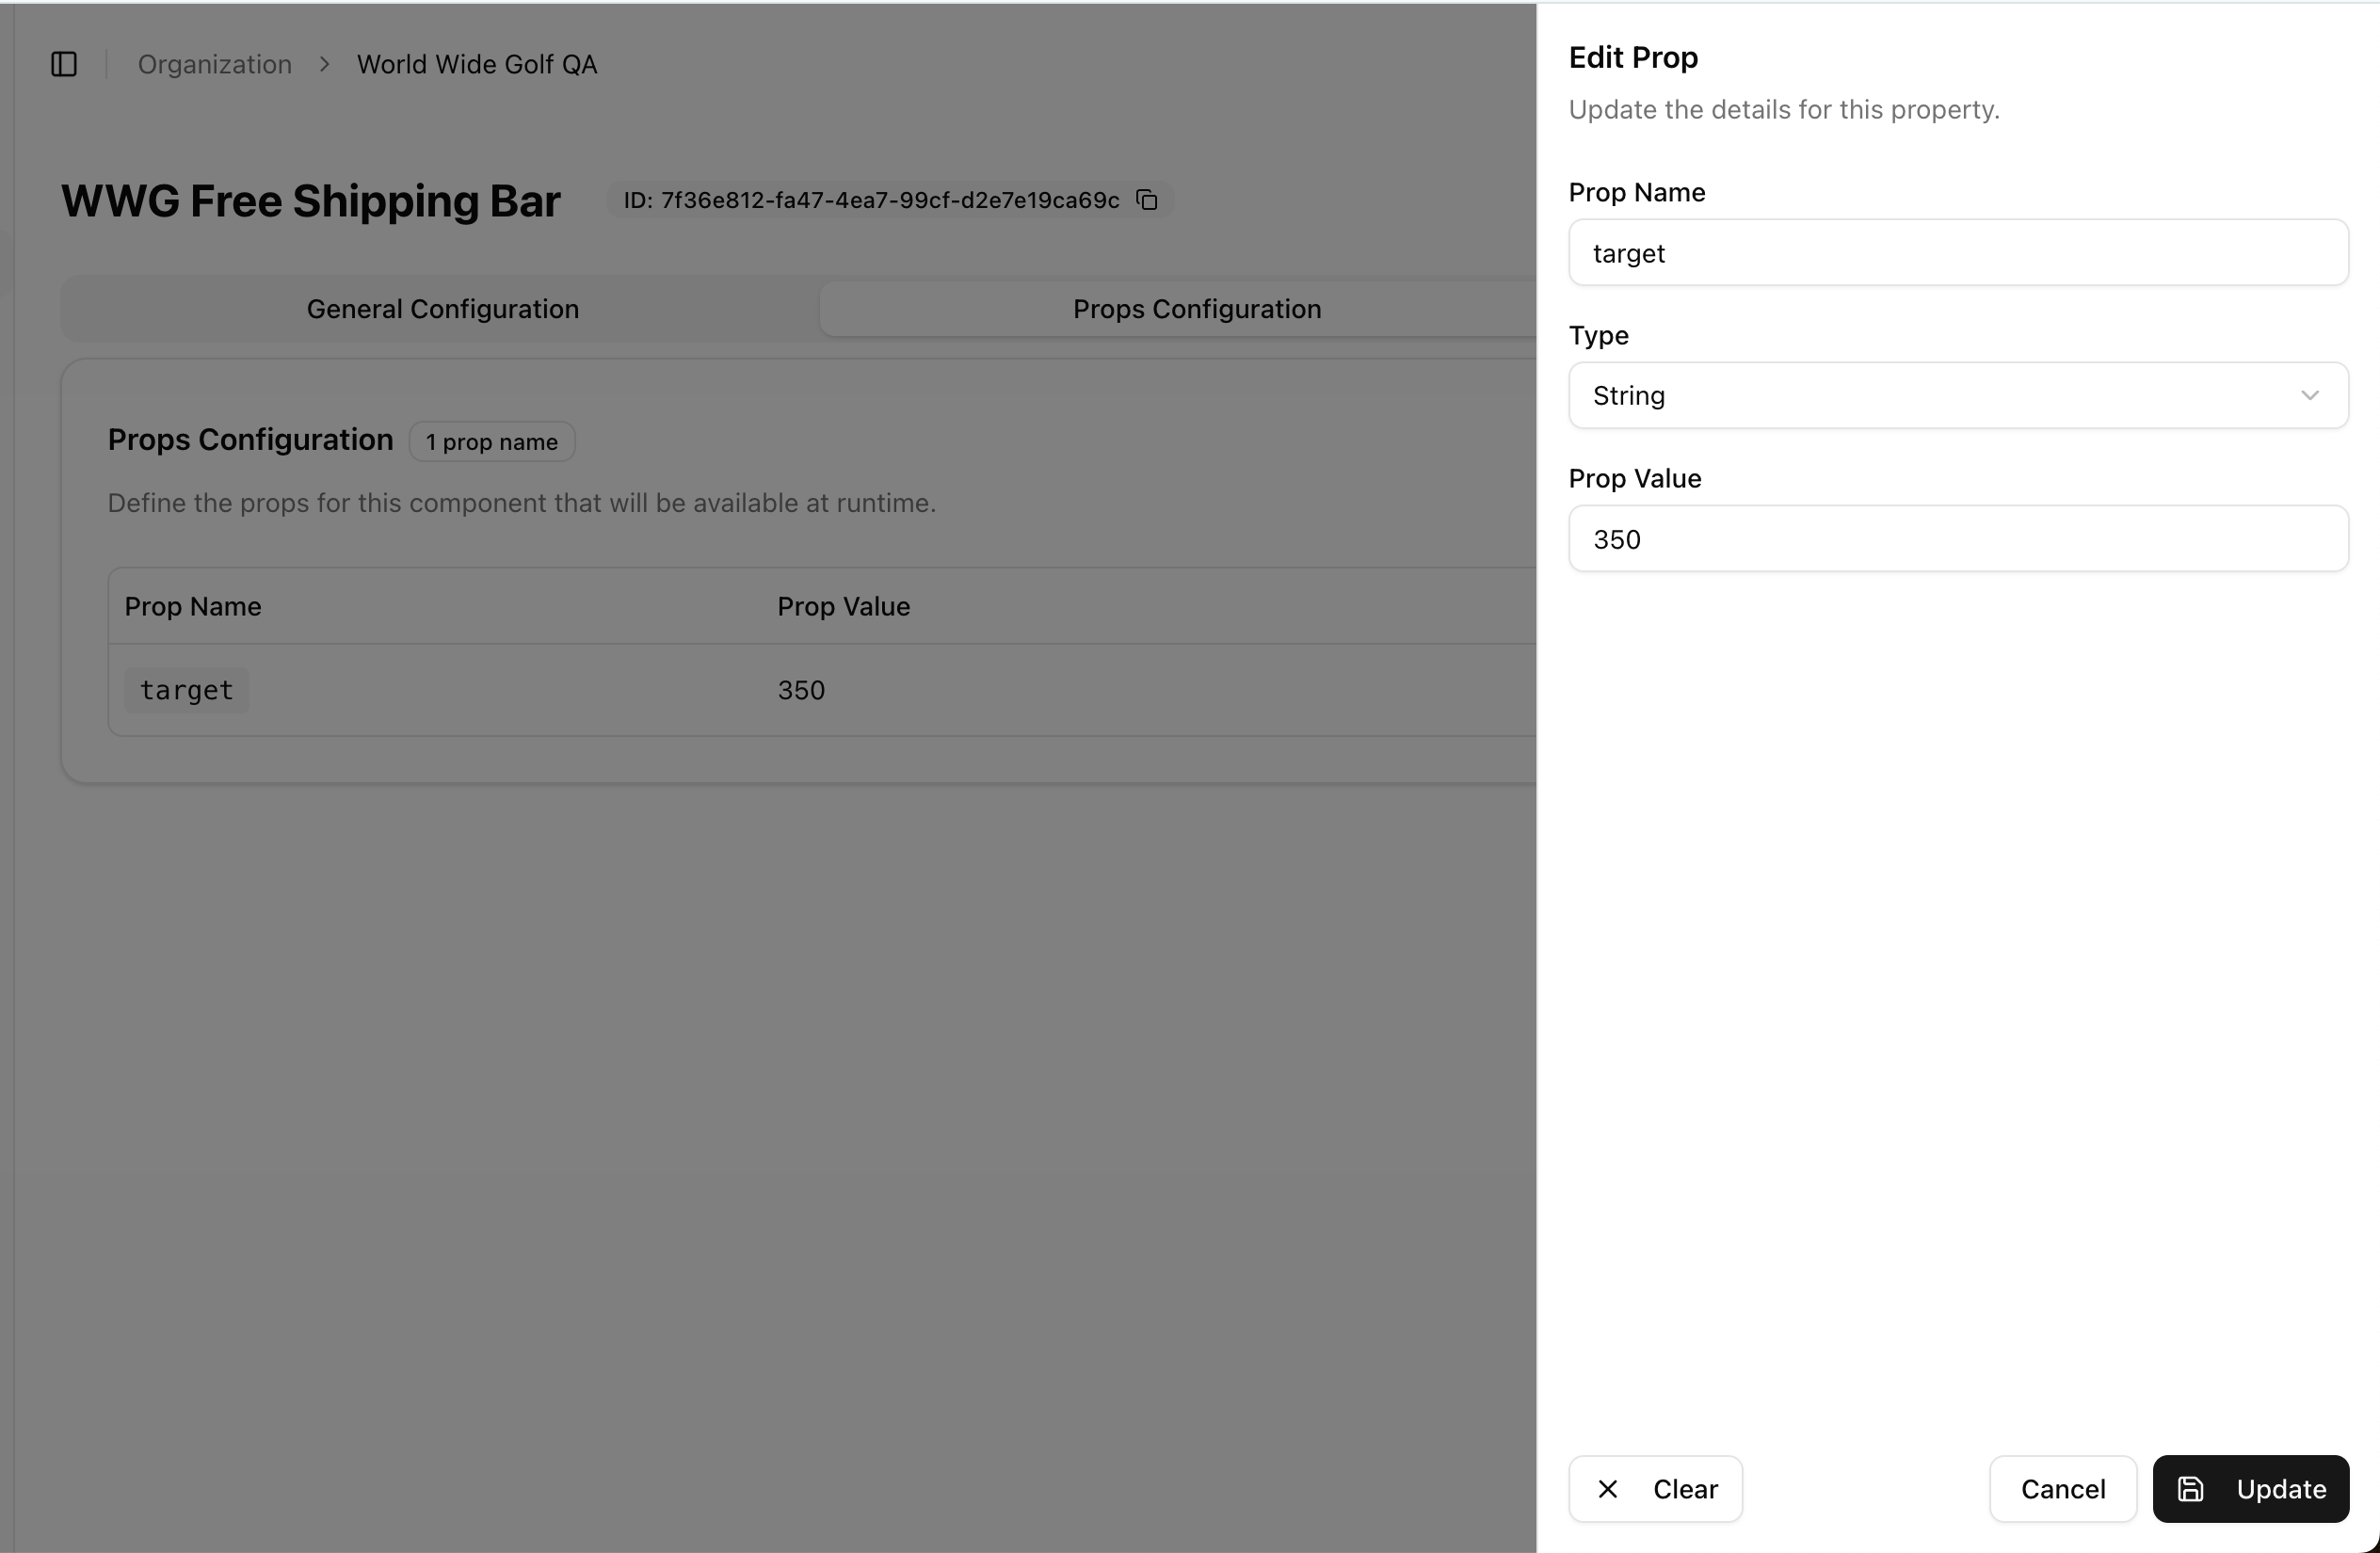
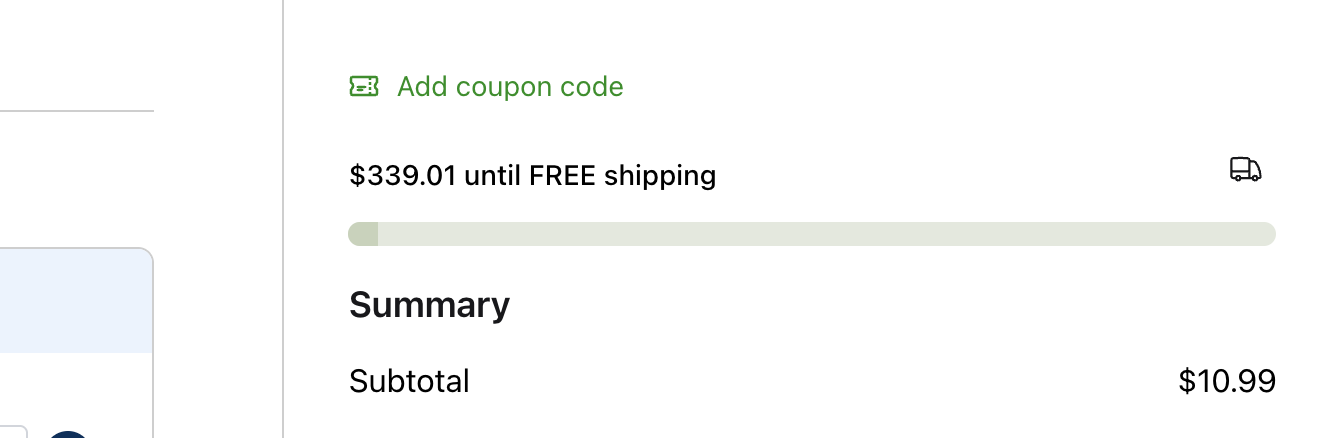
target=350 instead of the original (default) value of 99.
Where to edit props
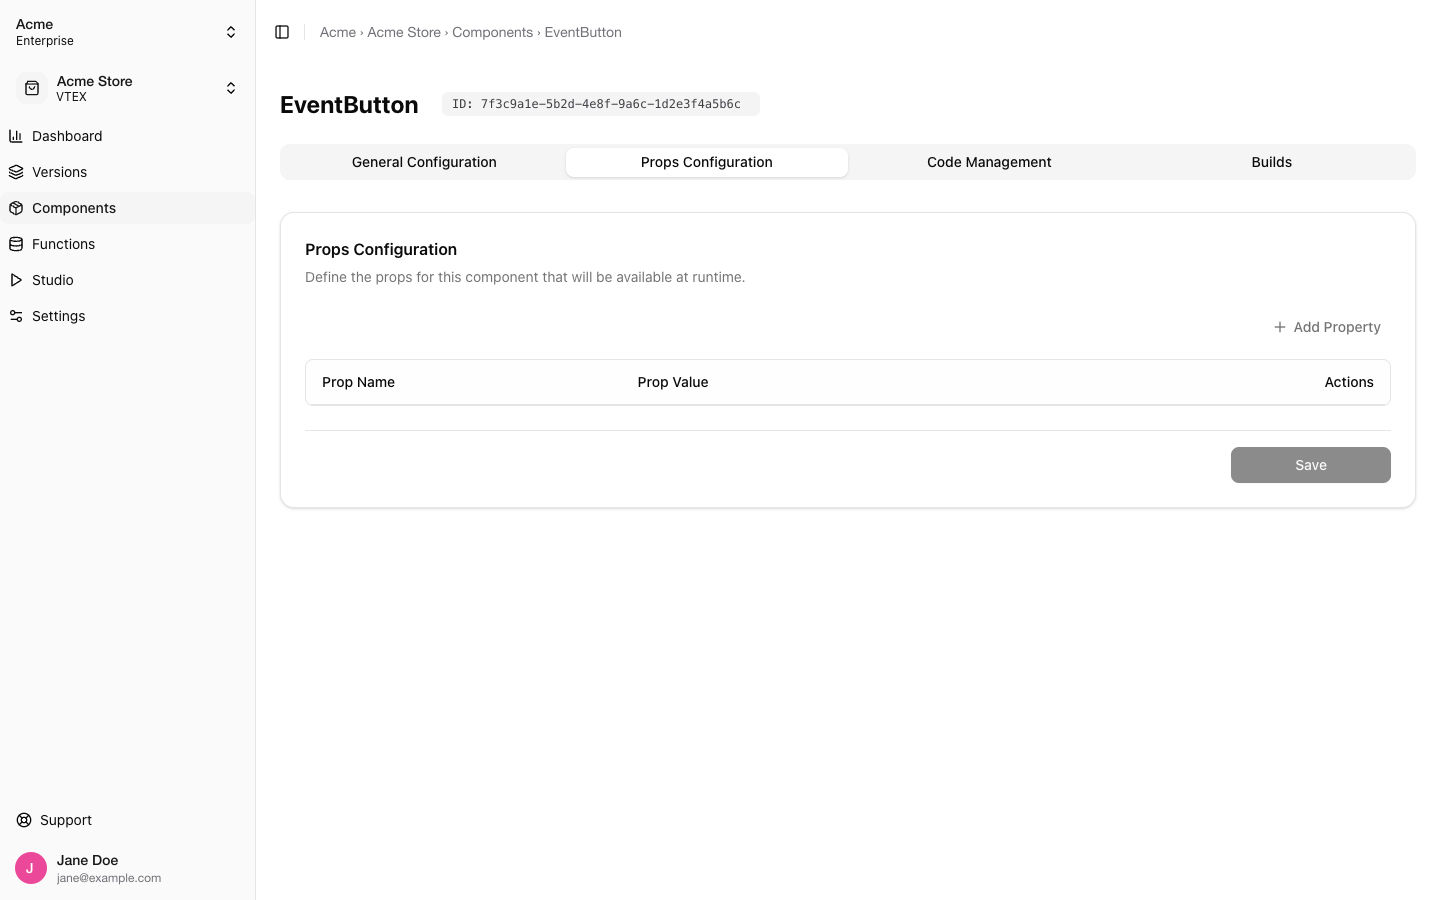
- Admin → Components → your component → Props Configuration. Click Add Property, give the key, pick a type (String, Number, Boolean or JSON) and the value, then Save. Object and array values get an edit button; every prop can be deleted. See Managing Components.
- Studio → the component’s props panel. The same props as a form (Visual editor) or as raw JSON, saved with Save changes.
Version props
A Version has props too, on its Props Configuration tab. They configure the native checkout rather than one component: steps, font, form fields, share cart, and the checkout flags. Custom components read them throughuseStoreInfo().props.