Prerequisites
- macOS/Linux
- Windows
Node.js 20+
VS Code
Download VS Code - Recommended editor
Ollie Shop Store
You have created a Store in Ollie Shop
Step 1: Create a Hello World Component
In your terminal, use thecreate-ollie-shop command to triger the scaffolding of a new project with our Hello World component.
Create Your Project
Run the creation commandYou’ll be prompted for: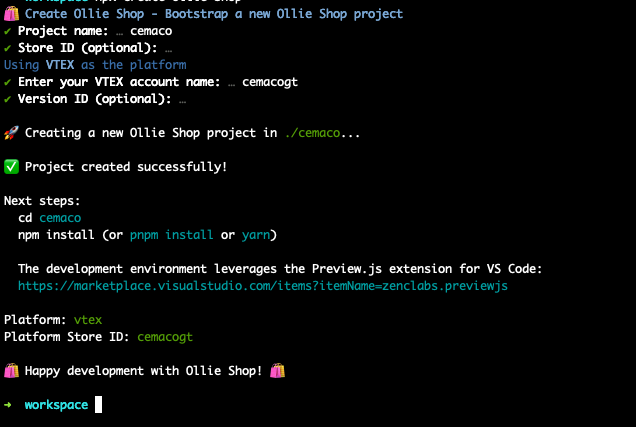
Project Namewhich will be the name on the folder.Store IDleave empty - you’ll be able to add this information at a later step.VTEX Account Namethe id of your store in in your ecommerce provider.Version IDleave empty - you’ll be able to add this information at a later step
Step 2: Install Dependencies
After creating the project, set up your development environment.Step 3: Develop Your Component
Now let’s build a checkout component using the Ollie Shop SDK.Open Component File
Open
components/HelloWorld/index.tsx in VS Code.This file contains your component code that will be deployed to your checkout.Step 4: Create Component in Admin Dashboard
Before deploying, you need to register your component in the admin dashboard.Navigate to Components
In the admin dashboard: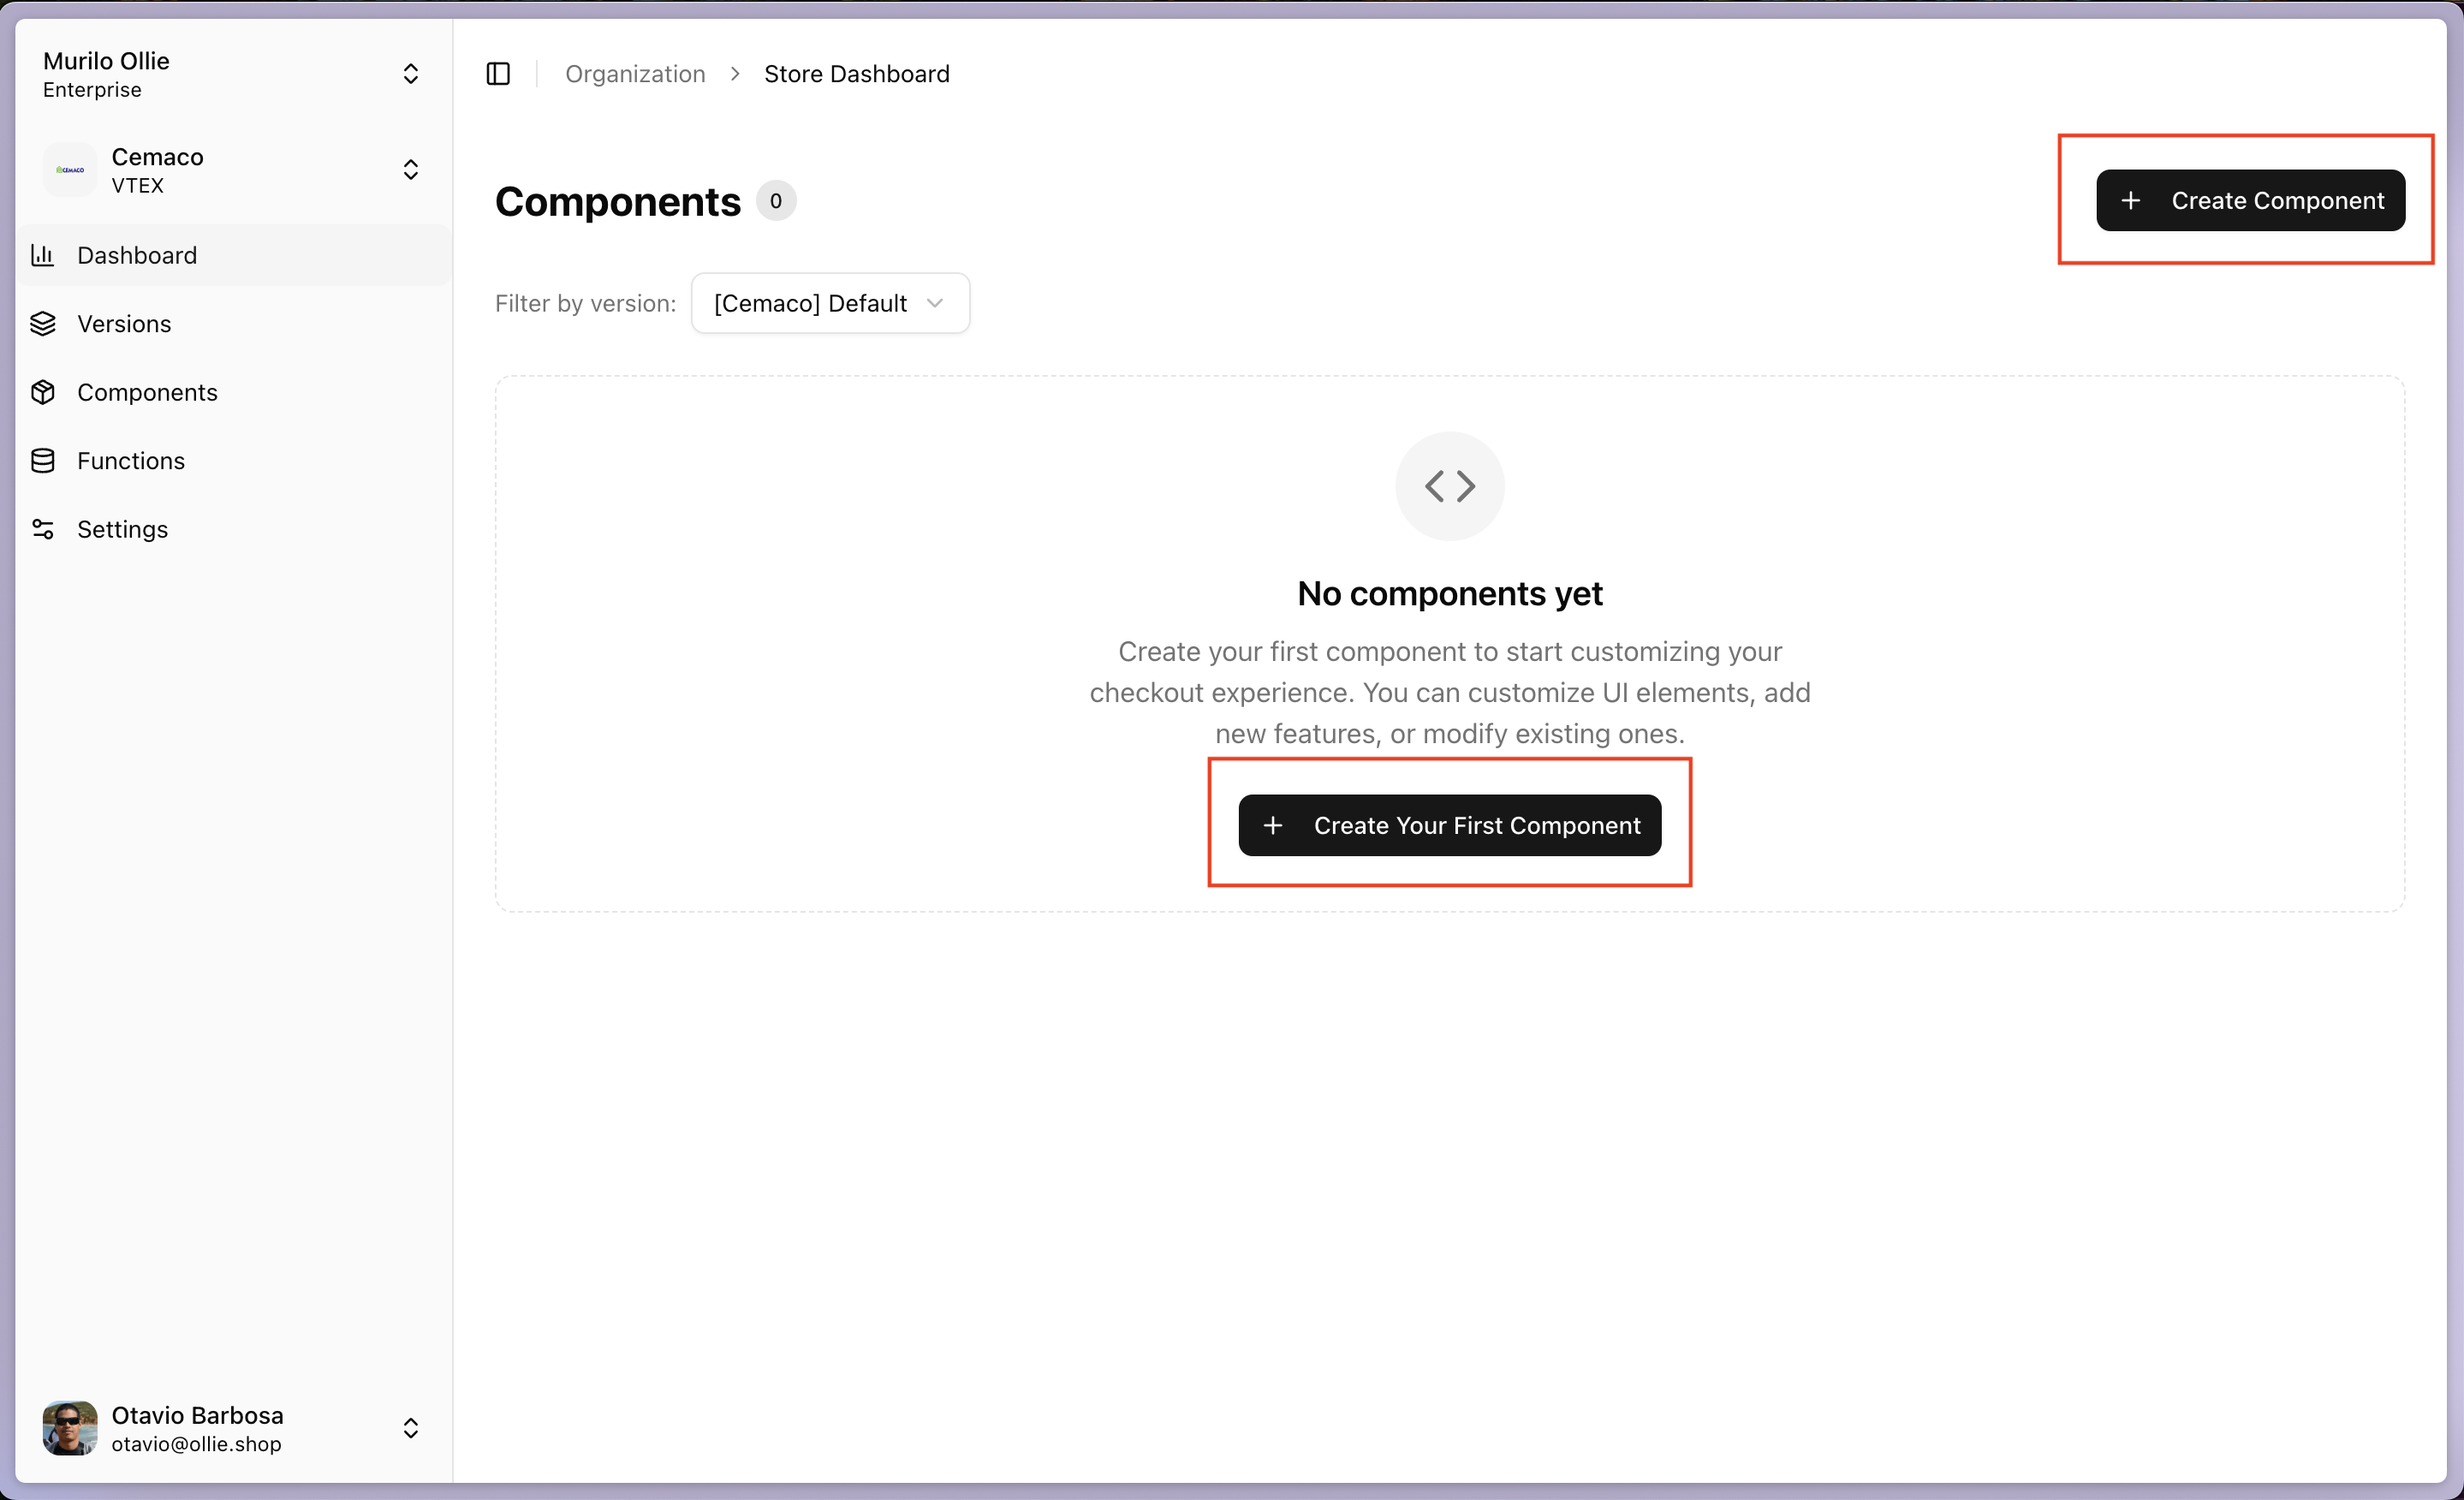
- Click “Components” in the sidebar
- Click “Create Component” or “Create Your First Component”
Configure Component
Fill in the component details: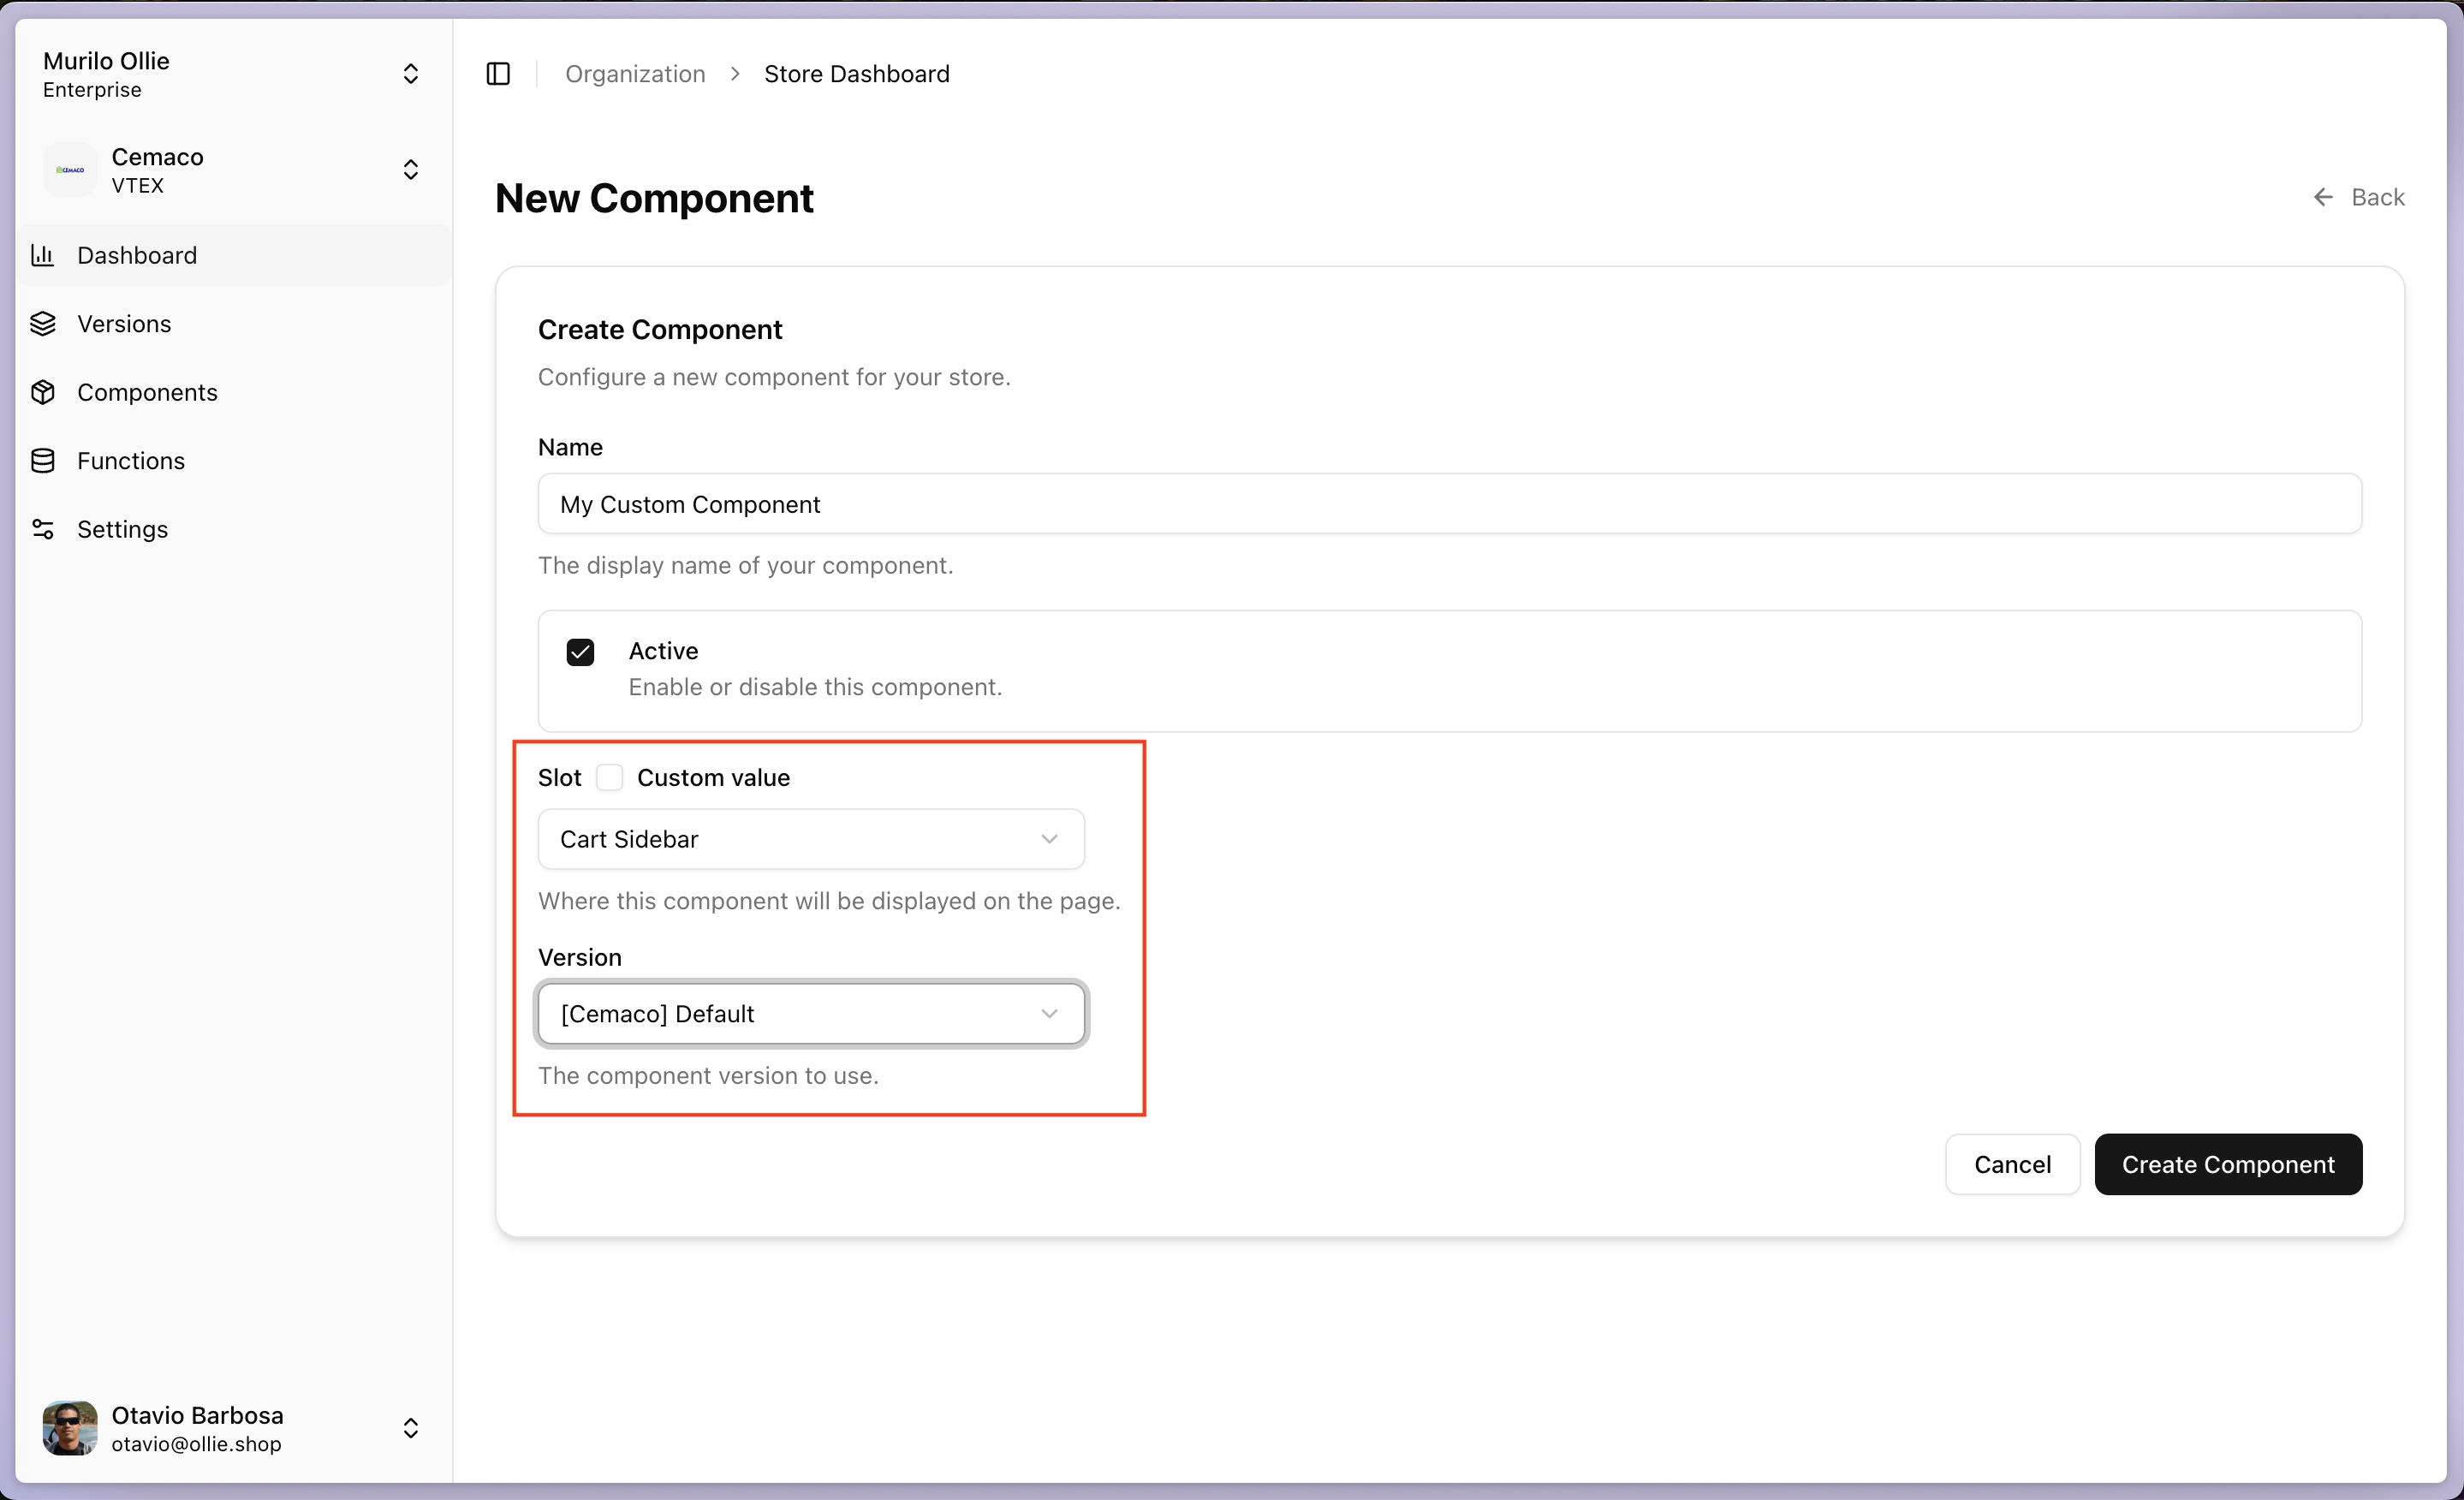
- Name: Your component name (e.g., “My Custom Component”)
- Active: Toggle ON to enable the component
- Slot: Select where the component appears (e.g., “Cart Sidebar”)
- Version: Select your store version
Step 5: Preview Locally with Studio
Run the dev server and preview your component live in the checkout.Start the Dev Server
In your VS Code terminal, start the Ollie CLI dev server (hot reload):This serves your components on
http://localhost:4000 and watches for changes.Open Studio
In the admin dashboard, go to Studio. With the dev server running, your
component appears in the Components tab and renders live in the checkout
preview. Editing your code hot-reloads the preview automatically.
Step 6: Deploy with Studio
With the dev server running (Step 5) and your component visible in Studio, deploy it without leaving the dashboard.Open the Components tab
In Studio, find your component in the Components tab. Make sure the
CLI status dot is green (the dev server is connected) and the build has
no errors.
Deploy
Click the upload icon on your component’s card. Confirm in the dialog —
Studio bundles your component, uploads it, and shows the build status.
Prefer the command line? The CLI is documented separately under CLI Reference.